
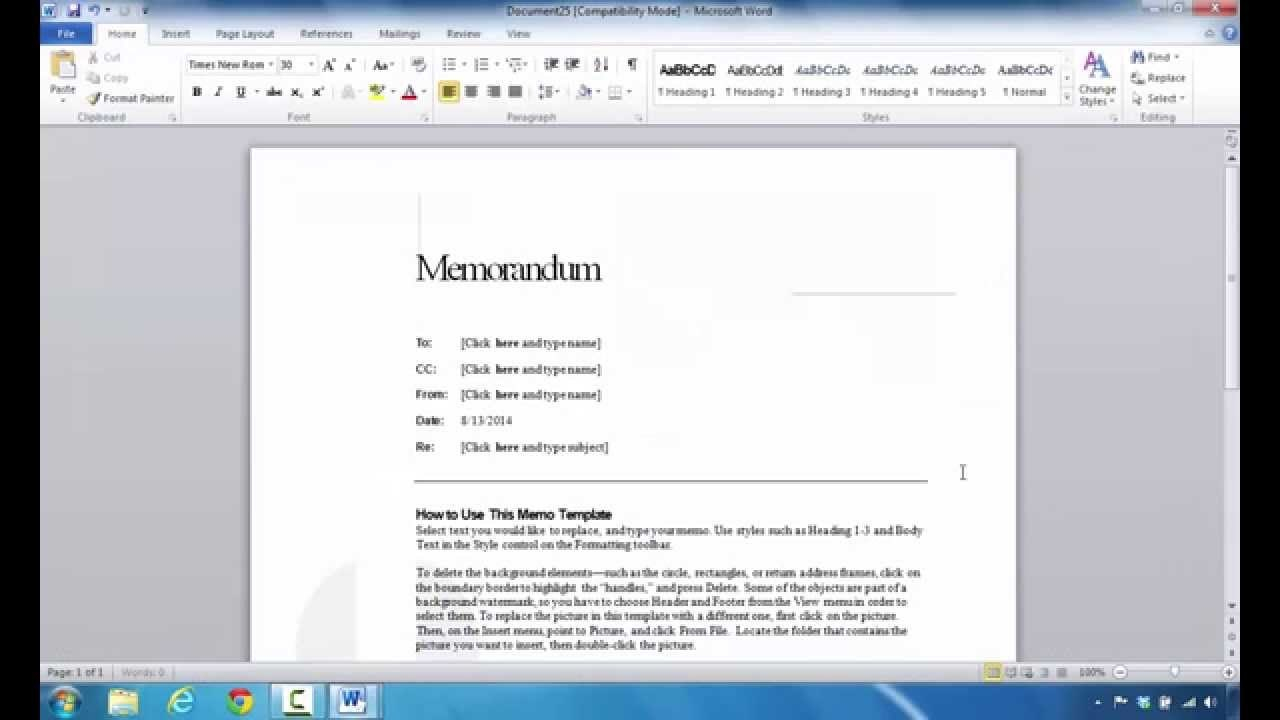
Memo Template Word 2013 is a widely used and incredibly versatile tool for creating professional and efficient memos. It's a staple in many offices and organizations, offering a streamlined way to communicate important information to teams, departments, and stakeholders. Understanding how to effectively utilize a memo template can significantly improve communication clarity and reduce the risk of misinterpretations. This guide will delve into the features, benefits, and best practices for leveraging the power of a well-crafted memo template. The core of a successful memo lies in its structure and the clarity of its message. Choosing the right template and customizing it to your specific needs is key to maximizing its impact. Let's explore what makes a memo template so effective.
The rise of digital communication has undeniably shifted the landscape of office communication. While email remains a vital tool, memos offer a tangible, easily accessible format for conveying crucial information. They're particularly useful for announcements, updates, instructions, and requests for action. A well-designed memo template provides a consistent and professional look, reinforcing your organization's brand and ensuring everyone receives the same information. It's a foundational element of effective office communication, and mastering its use can lead to improved efficiency and stronger relationships. Consider the time saved by avoiding the need to draft a completely new message each time – a template streamlines the process. It's an investment in clarity and productivity.
Understanding the Core Components of a Memo Template
Before diving into specific features, it's helpful to understand the fundamental building blocks of a memo template. A good template typically includes sections for:
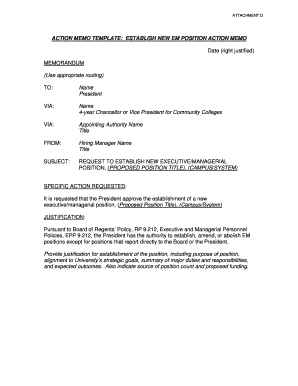
- Header: Includes the organization's logo, contact information, and the memo's title.
- Date: Clearly indicates when the memo was issued.
- Recipient(s): Specifies who the memo is addressed to.
- Memo Subject: A concise and descriptive title that accurately reflects the memo's content.
- Body: The main content of the memo, typically organized into paragraphs.
- Call to Action (Optional): Instructions or requests for action.
- Attachments (Optional): Files that support the memo's message.
The Power of the "Memo Template Word 2013" – A Deep Dive
The specific name "Memo Template Word 2013" is a testament to the template's enduring popularity and adaptability. It's a widely recognized and frequently used template, reflecting its versatility across various industries and organizational sizes. The "Word 2013" part signifies that the template is designed to be compatible with Microsoft Word 2013 and beyond, ensuring it remains relevant for a wide range of users. This familiarity contributes significantly to its widespread adoption. It's a template that's been refined over time, incorporating best practices and addressing common user needs. Understanding the nuances of the template's layout and functionality is crucial for effective utilization.
Section 1: The Header – Establishing Professionalism
The header is the first impression of your memo. It's your opportunity to immediately establish your organization's brand and convey the memo's purpose. A professional header typically includes the organization's logo, contact information (phone number, email address, website), and the memo's title. Using a consistent header design across all your memos reinforces brand recognition. Consider using a subtle, professional font and color scheme. Avoid overly flashy or distracting elements. A clean and well-designed header sets the tone for the entire memo. For example, a company logo in the top left corner, alongside the organization's name and contact details, is a standard and effective approach. Ensure the logo is appropriately sized and doesn't overwhelm the text.
![]()
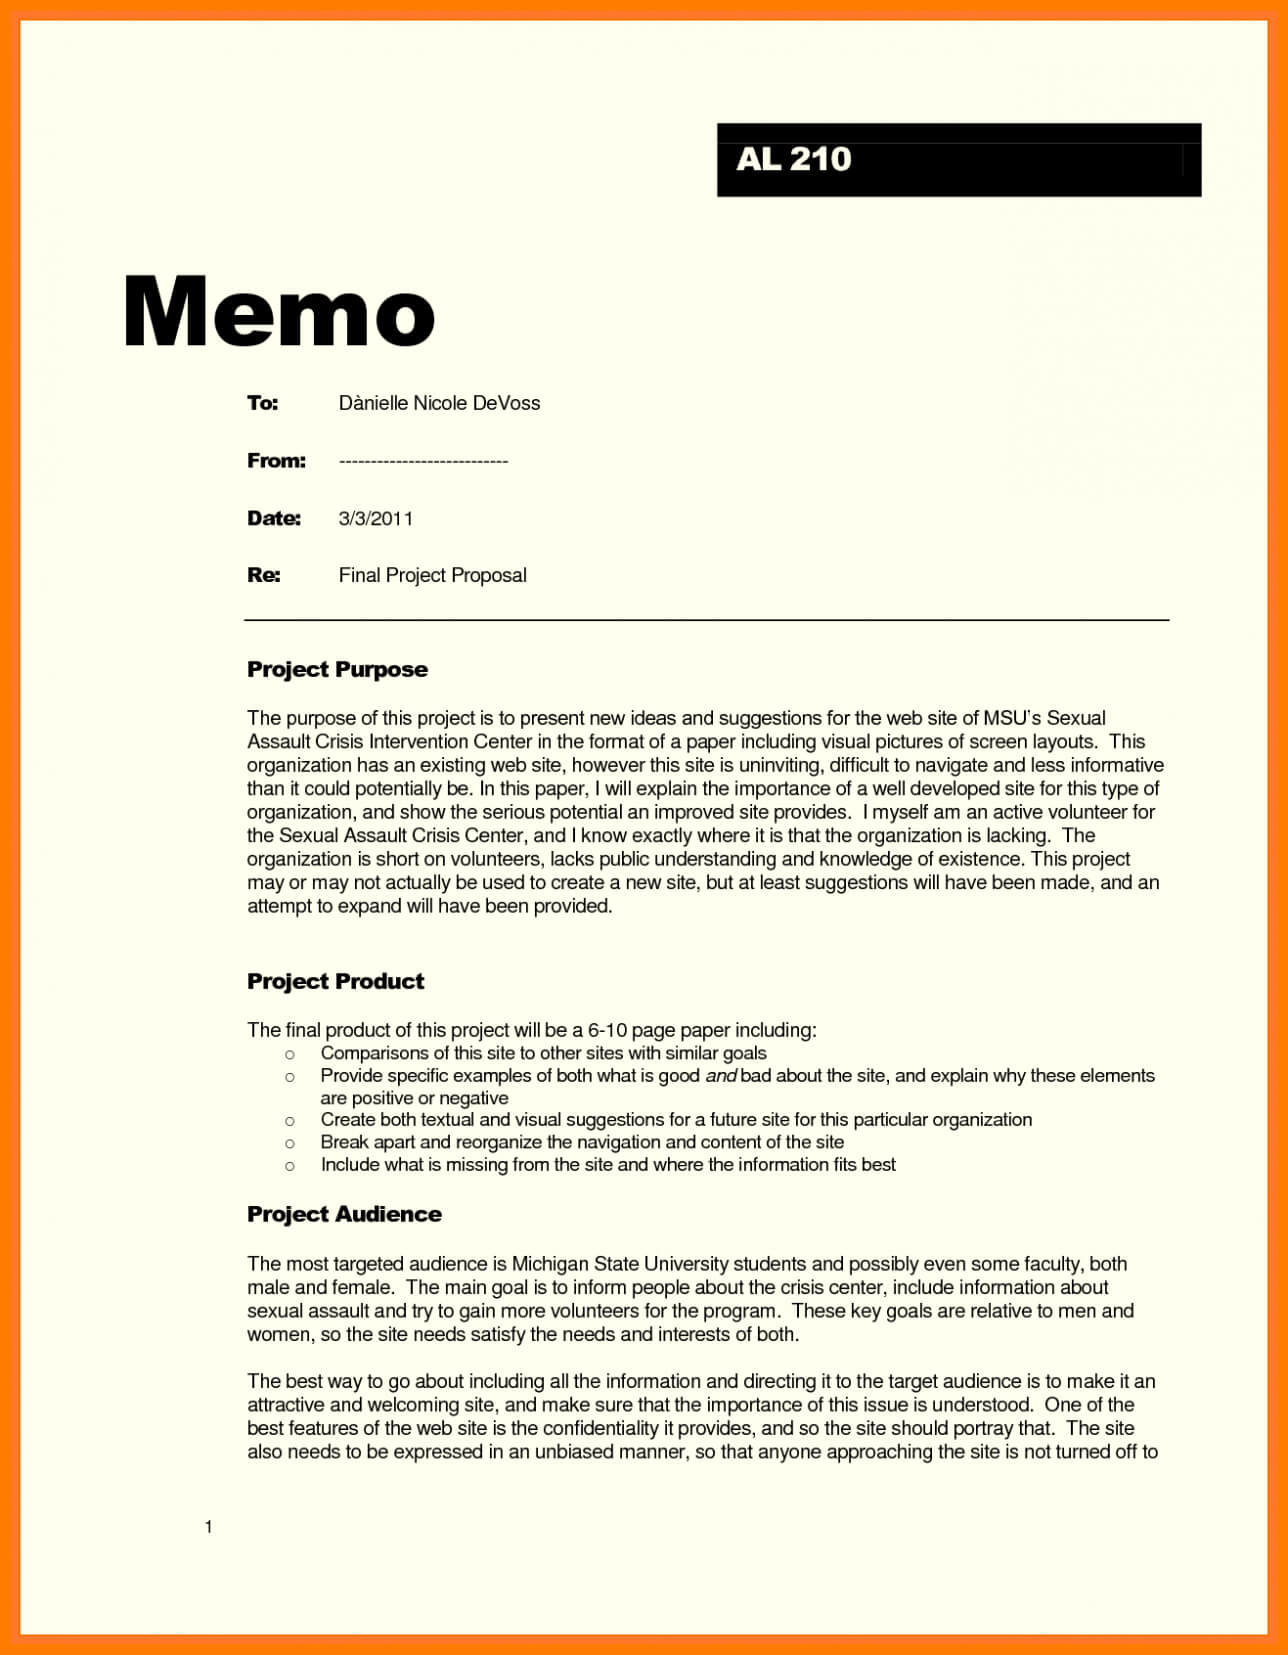
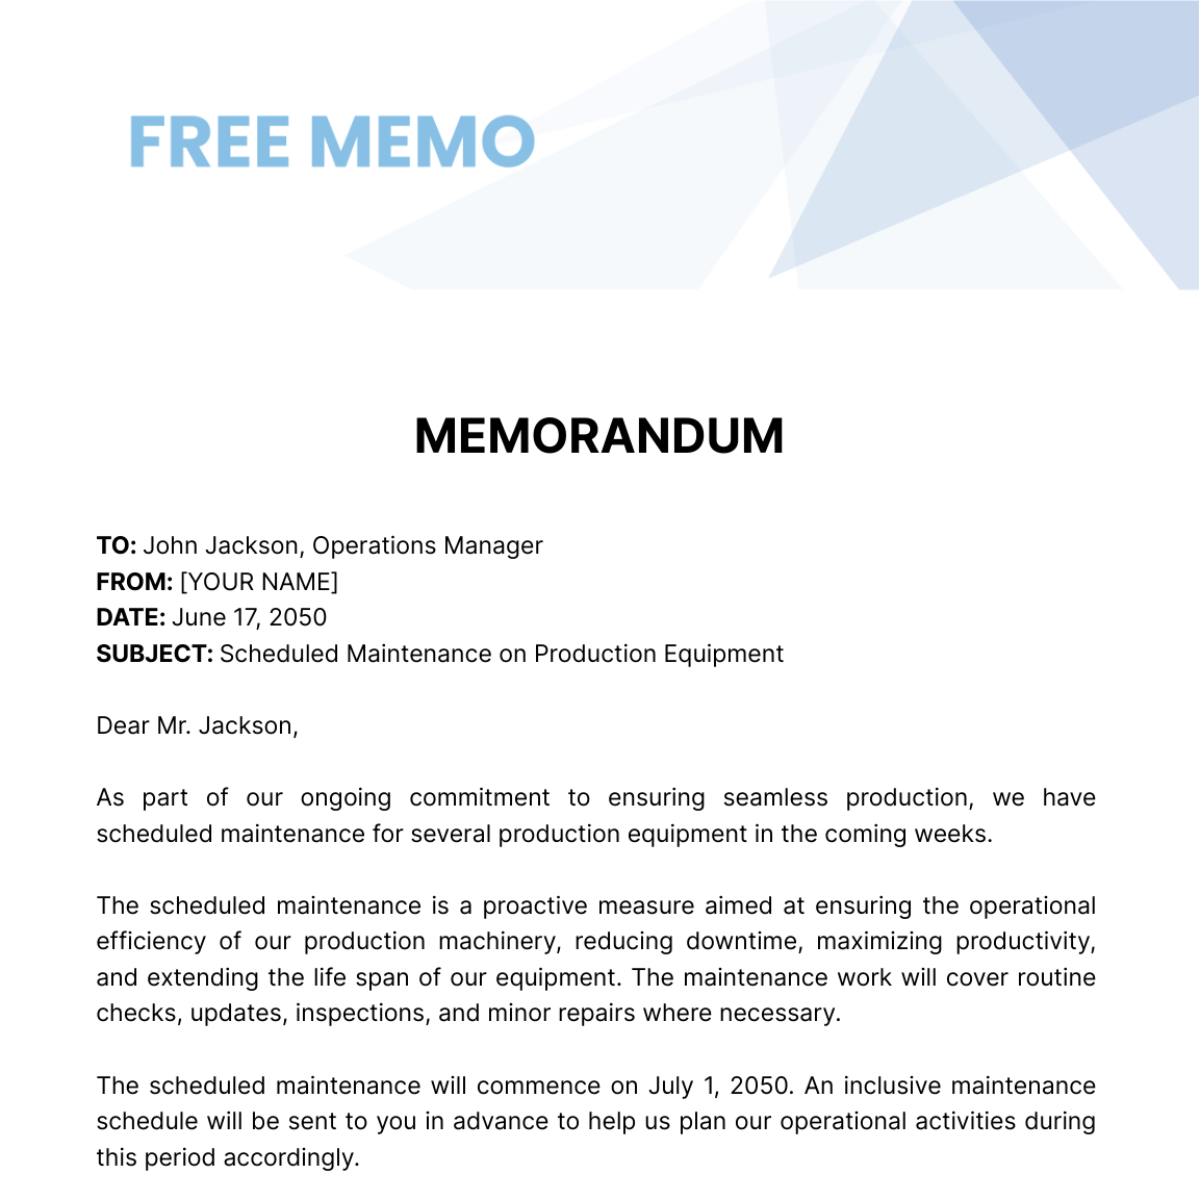
Section 2: The Date and Recipient – Essential Information
The date and recipient information are critical for ensuring the memo reaches the intended audience at the right time. The date should be clearly displayed, typically in the format MM/DD/YYYY. The recipient should be clearly identified, often using their full name and title. For departmental memos, you might include the department and team name. Double-check that the recipient's email address is accurate to avoid sending the memo to the wrong person. A simple, professional signature with your name and title is also a standard practice. Consider adding a brief note about the memo's purpose to the recipient's line, clarifying why they should read it. For example, "This memo outlines the new policy regarding expense reimbursement."
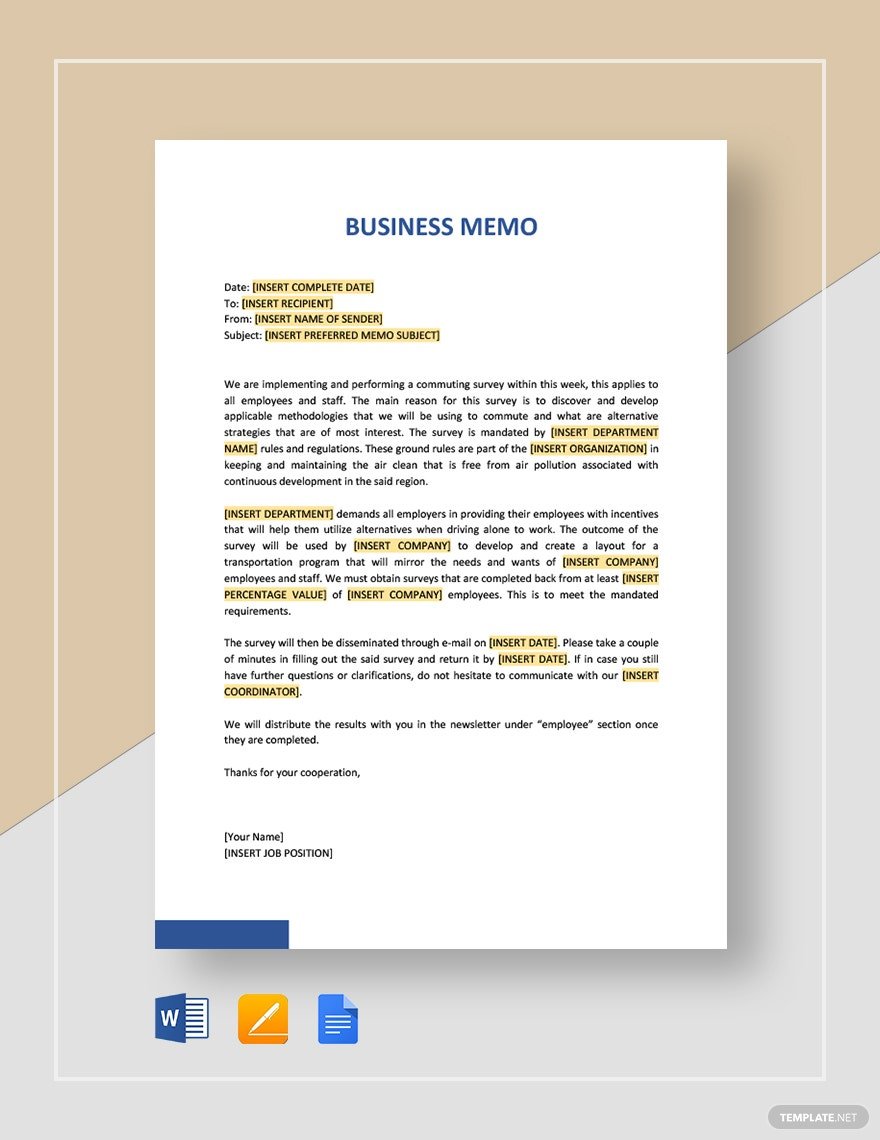
Section 3: The Body – Delivering the Message
The body of the memo is where you present the core information. Structure your content logically, using clear paragraphs and concise sentences. Start each paragraph with a topic sentence that clearly states the main point. Use bullet points or numbered lists to present information in a digestible format. Avoid lengthy paragraphs; break up the text with headings and subheadings to improve readability. Maintain a professional tone throughout the memo. Use active voice whenever possible. For instance, instead of saying "The report was submitted by the team," say "The team submitted the report." Consider adding relevant data or statistics to support your points. Remember to proofread carefully for any grammatical errors or typos.
Section 4: The Call to Action – Encouraging Action
If your memo requires action from the recipient, clearly state what you want them to do. A clear call to action should be concise and specific. For example, "Please review the attached proposal by Friday, October 27th." Or, "We request your approval to proceed with the marketing campaign." Don't be vague; provide a specific deadline or action step. Consider adding a contact person or department for further questions. A well-defined call to action ensures that the memo achieves its intended purpose.
Section 5: Attachments – Supporting Documentation
Attachments can significantly enhance the value of your memo. Include only essential attachments that support the memo's message. Clearly label each attachment with a descriptive name. For example, "Expense Reimbursement Policy – Appendix A." Ensure that attachments are properly formatted and easy to open. Don't overwhelm the memo with unnecessary files. A well-organized attachment section demonstrates professionalism and efficiency.
Section 6: Conclusion – Reinforcing Key Takeaways
The conclusion is a final opportunity to summarize the key takeaways from your memo. Briefly reiterate the main points and the desired action. A strong conclusion reinforces the memo's purpose and leaves a lasting impression. For example, "This memo outlines the new company policy regarding remote work. Please review the attached document to ensure compliance." A concise and impactful conclusion ensures that the recipient understands the memo's core message.
Best Practices for Memo Template Usage
Several best practices can significantly enhance the effectiveness of your memos. Firstly, use a consistent template across all your communications. This creates a professional and recognizable brand identity. Secondly, keep it concise and focused. Avoid unnecessary details or rambling content. Thirdly, proofread carefully for any errors in grammar or spelling. Fourthly, consider your audience when designing your memo. Tailor the tone and content to suit the recipient's needs and preferences. Finally, test your memos before sending them out. Send a test email to yourself to ensure that the formatting and layout are correct.
The Importance of Customization
While templates provide a solid foundation, remember that a truly effective memo is always customized to the specific situation. Don't simply copy and paste a template verbatim. Adapt the content and format to reflect the unique needs and context of your organization. Consider adding a brief introductory paragraph that acknowledges the recipient and explains the memo's purpose. This demonstrates that you've taken the time to understand their needs and tailor the message accordingly. A little personalization can go a long way in ensuring that your memos are well-received.
Leveraging "Memo Template Word 2013" for Maximum Impact
The "Memo Template Word 2013" template is a powerful tool, but its effectiveness hinges on proper utilization. It's not just about using the template; it's about understanding how to use it effectively. Consider these tips:
- Start with a clear objective: Before you even open the template, define what you want to achieve with the memo.
- Use visuals: Incorporate charts, graphs, or images to enhance understanding and engagement.
- Maintain a professional tone: Avoid slang or informal language.
- Use strong verbs: Replace passive voice with active voice.
- Proofread meticulously: Errors can undermine your credibility.
Conclusion
Memo Template Word 2013 is a valuable asset for any organization seeking to streamline communication and improve efficiency. By understanding its core components, utilizing best practices, and customizing it to your specific needs, you can create memos that are clear, concise, and impactful. The template's enduring popularity underscores its fundamental value – a reliable and adaptable tool for effective office communication. Mastering the art of memo creation is an investment that pays dividends in terms of improved productivity, stronger relationships, and a more professional workplace. Remember, a well-crafted memo is more than just a document; it's a strategic communication tool.
0 Response to "Memo Template Word 2013"
Post a Comment